Marek’s tips from the Skills Day
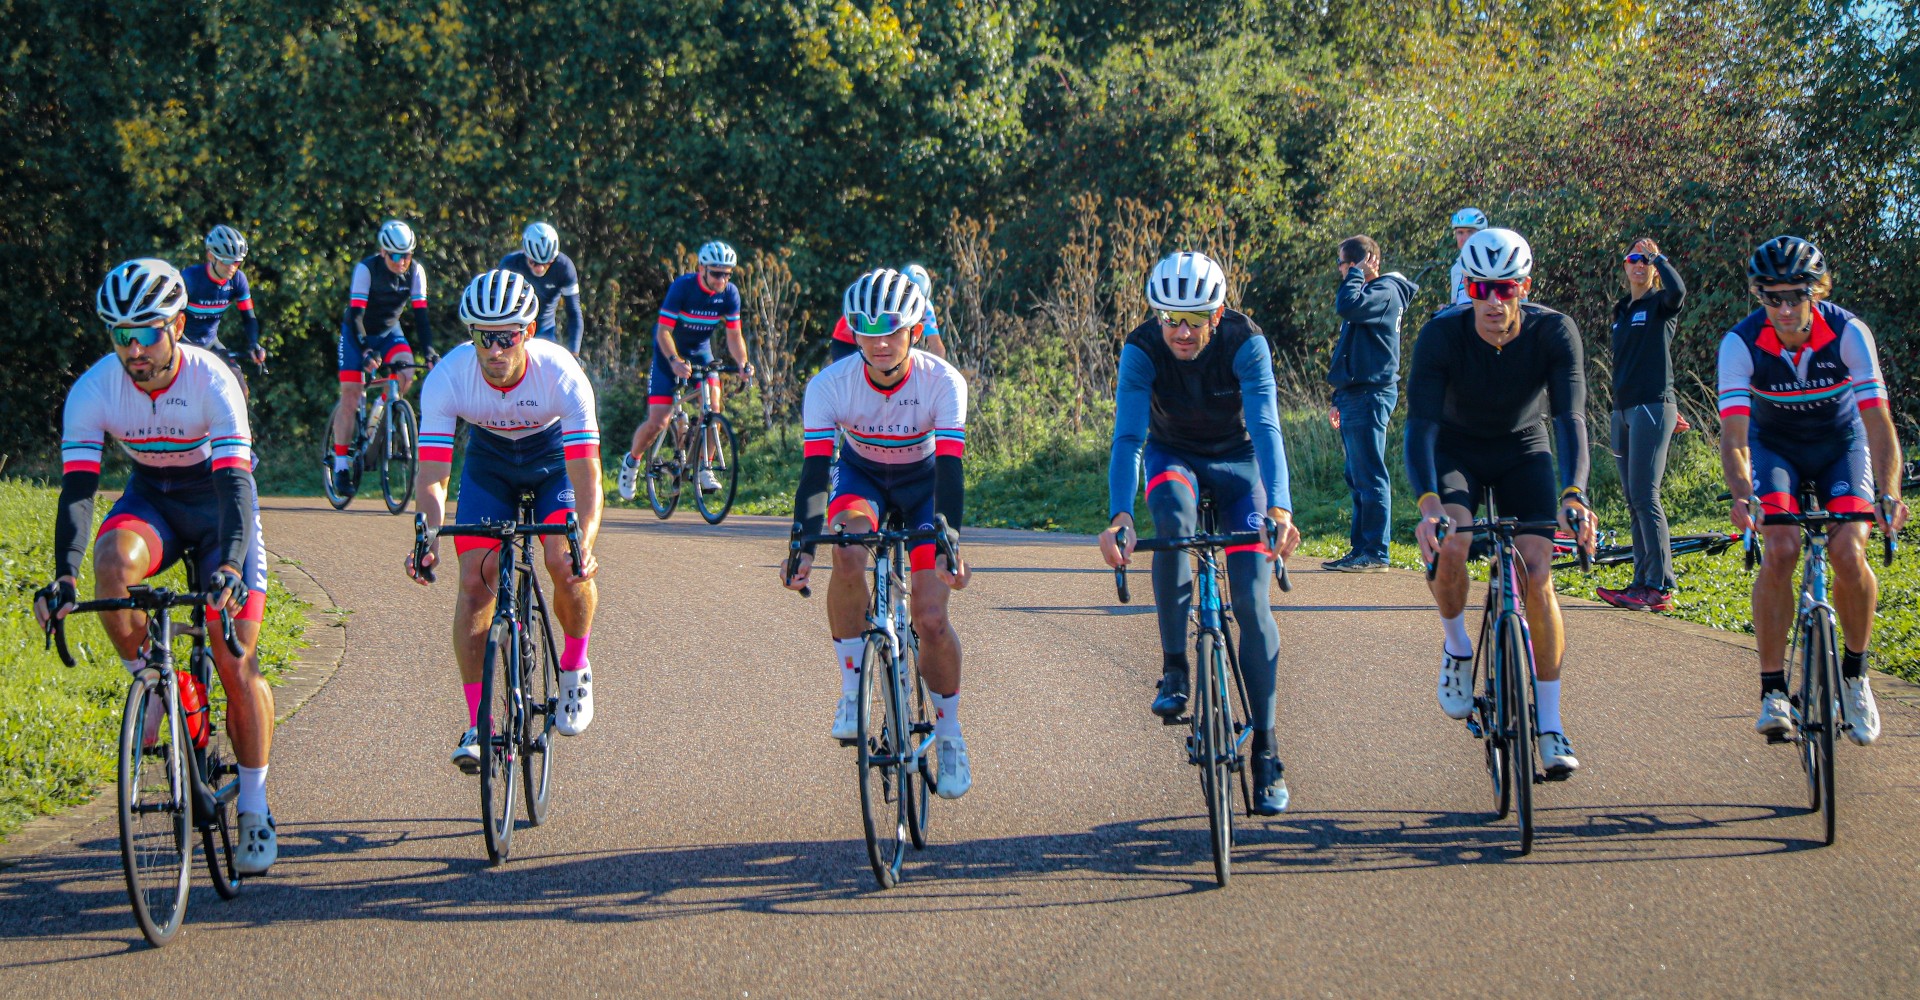
Every year the club hosts an end of seasons Skills Day at Hillingdon, giving members a chance to practise their cornering and group riding skills under the supervision of some great coaches. This year was another lovely sunny edition and Marek Malysa has given us an in-depth download on the day.
The structure of the day featured 3 drills/exercises at specific points of the track followed by a social tea and coffee break in the HQ building, then paceline and chaingang drills using the full track and ending with a mock handicap race at the end. I’ll write this in the order that my group did the day:
Drills and Exercises
1.1 Cornering and Descending
This drill was done at the far end of the course where a little loop exists. This loop features a rather gentle rise and fall but is combined with some nice sweeping bends. The drills were riding down solo, riding down solo, riding down as a single but behind a wheel and riding down in groups of 6-8 in close proximity and then in groups of 3.
Cornering tips:
When approaching the turn, assess how much speed you can carry through it. Do your breaking before the turn when riding in a straight line and avoid touching the brakes through the turn. Touching the brakes during a turn makes the bike straighten and results in less tight lines (in the worst case resulting in you coming off the road or causing issues to riders behind you). This assessment of speed is something I need to work on – I currently scrub off too much most of the time and when I try to improve this I often get nervous in the corner and touch the brakes. When I do touch the brakes though I do this very gently, only to refine my speed a touch – but this should ideally never happen.
Look where you want to go, not where you don’t want to end up. This is easier said than done when you’re nervous – this is why practice and confidence is very powerful in corners. You will always ride towards where you look.
Keep your inside pedal up when cornering (not pedalling) to allow your bike to lean into the turn while avoiding clipping the pedal.
Forget about what you see on Moto GP with the knee coming over the apex. Rather place your weight on the outside pedal. This lowers your centre of mass allowing for a less eccentric load and therefore less work for the tyres in the corners (safer turns as your tyres can provide more resistance before slipping out beneath you).
For the same reason as above, hands are best places on the drops when cornering aggressively.
Cornering in groups – we formed a line and went through the bends at a gentle pace, but trying to keep the line formed straight and as tight together as we could. This worked on confidence when riding through bends in a group shoulder to shoulder. Though it is obvious, it really highlights just how much faster the inside line is, with the inside rider having to really slow down in order for the outside rider to keep up with the line without reaching warp speed.
Descending tips:
Hands down on the drops with fingers over the brakes – refer above about centre of mass.
Bum off the saddle – lift up just a cm or so from the saddle and allow the bike to lean as necessary beneath you through the descent.
Pedals parallel to the ground. Lifting your bottom off the saddle as above means your weight then gets transferred into the pedals rather than your saddle. Once again, this lowers your centre of mass, which gives better stability and results in safer descending. Having the pedals parallel gives you that stable platform and helps your legs in this mini squat. Lastly, it also gives you aero gains and makes you look way cooler when descending.
1.2 Close proximity riding
This took place at the start finish line straight.
Riding close to each other in pairs, including hand on shoulder riding.
Riding together in a line, keeping the wheel in front close. Lesson – all is fine until a sharp turn occurs, the last riders are always slower round these turns than those at the front. Ease at the front after such a slow tight turn to allow the group to form back up before resuming at the group’s previous pace.
Tip: Though this is more for those with suitable handling skills and to be done only to those with suitable handling skills. If a rider next to you is getting a little too close for comfort, give their hip a gentle poke and you will find them gentle move away from you.
1.3 Slow Skills
This took place outside the HQ and featured working on riding slow and practicing track stands. Control over a bike is much easier when up at speed, similar to the changing of gears in a car. Its controlling your bike at lower speed that is more challenging for staying upright. These skills provide you with a much greater relationship between your body and your bike – distributing your weight in relation to the position of the bike starts to after some time become second nature.
Tip: This is something everyone should practice in my view – having good control over the bike at low speeds will greatly translate to an easier progression to group riding. This skill is especially important for commuters. Many mishaps I’ve seen from commuters happen at these lower speeds where the rider simply struggles to keep control of their bike when in close proximity to other riders/vehicles.
Tea and Coffee Break
A great assortment of cakes etc (with vegan friendly options provided). I discovered that I was one of the only non-coffee drinkers in the room and my tea selection got me to the front of the queue :sunglasses:
Strong tea, but no bitter aftertaste, dash of milk for some decadence, served hot – not warm :ok_hand: a great companion to the moist fruity slice I had my eye on. One very satisfied man!
Paceline and Chaingang
Though I’ve only looked at the diagrams, this 4 seems to explain what these are (note that chaingang is referred to in this site as ‘Circular Paceline’). Also note that what Back For Breakfast rides does is called a Double Paceline (didn’t know that!). Right, now that you know what these are, here are the main takeaway tips:
Paceline Tips
When at the front and ready to pull off, flick your elbow. Flicking with the elbow in the direction you wish for the riders behind to pass. So flick with your left elbow if you are to on the open road move to the right into traffic. If flicking with the right elbow and moving towards the gutter, be sure that the line you are riding in is suitably far from the gutter. Once moved to the side in this scenario the group must stay in a straight line and not move in towards the gutter when passing you as this ruins the benefits of the paceline.
Ok, so you’ve flicked your elbow signalling the end of your turn and showing your intent to drop off from the front. Now RELAX. Take your time. Don’t be in a rush to move out the way, the riders behind you won’t get upset by you taking more time at the front and giving them more of a draft! :rofl: Gently perform a headcheck to ensure there are no cars behind or an unexpected rider. If there is, keep riding at the front and repeat. Only moving out when it is safe to do so.
Ok it’s safe! Now peel off, but don’t peel off suddenly and sharply: nice, smooth and gentle – be very controlled.
So you’ve now peeled off – ease your pace. It is the line that rides at the pace set by the group, you are to ease and drop to the back. The last rider in the line should shout out ‘last’ to you so you know it is their wheel you should get onto.
Getting back in line – the rider has yelled last and you are to get on their wheel. Still headcheck! you never know, if on public roads another rider may have unknowingly latched onto the group and the last rider of your group didn’t know! Best to be safe than sorry.
The 2nd rider. So the rider in front of you has peeled off – this means you’ll now be putting in more effort. So be ready for this, but also don’t go over the top and suddenly surge the speed – increase your power gently and maintain the group’s set pace.
Chaingang Tips
This is one where my group struggled and I must admit, I was one of the culprits before getting an earful from Tobias Rosenkranz! The thing I had to switch up in my mentality, which now seems obvious, is that a chaingang is no different to a paceline. The only difference is that each person’s turn at the front is only a few seconds long. You ride at the group pace until you get to the front, then when safe to do so (with the rider on your left (in most cases) shouting ‘clear’ – meaning you can turn in without clashing with their front wheel) you pull in gently and smoothly. Now you are in the same scenario where your pull ended – ease the pace! And don’t ease the pace just slightly like I was doing – in my case Tobias was behind me in the line and when I pull in, he has to make up that whole bike length. So easing just slightly means that he needs to pull for much longer. Rather, ease a pretty decent amount to allow the rider behind to pull through quickly and move in front of you. This was something my group in particular still hadn’t sorted during the drill – so very important!
A tip for both Chaingang and Paceline:
Stop the chaingang/paceline when going through corners and descents. Communicate within the group to say that it is off and ride two abreast through these sections, resuming once more when safe to do so.
Mock Race
A really fun little ‘race’. I’ve never raced before – this ‘race’ was my first and I think it’s actually a perfect intro into a simulated race scenario for anyone interested in taking up racing in the future. Through this race I saw a lot of tips and tricks I myself have learnt from watching Norcal Cycling on Youtube, but it’s really cool to see in the flesh. The main takeaways for me from the race:
By the end I was taking the sweeping corners a lot faster and with a lot more confidence through both repetition of them at speed and more helpfully following the lines of those that have raced here many times and hammer them with confidence.
I noticed riders in front of me pedalling much sooner than I was willing to, but I could see that their pedals were well clear of the ground, giving me confidence to do so. Note – Though beware of this: don’t always start pedalling when those in front have, they are further into the turn. Pedal when you get to their position. Also note that their crank length might be slightly different!
Racing like this with everyone as individuals has interesting positives and negatives for everyone to weigh up. I, along with a number of others, didn’t latch onto the group that split off at the start. However because this group that split off was all individuals, it meant that while some solo attacks went off at the front nobody was willing to spend too much energy to keep the pace up. This cat and mouse game meant that a lot of riders including myself were able to be rewarded for their efforts in catching this front group. It just goes to show how important riding as a team can be. Once the split occurs in a race with four wheelers lets say fortunate to be a part of it, it would be hugely powerful for that team to have a protected rider with the other three keeping the pace high to both keep the split and also potentially even cause further splits – increasing winning chances by not allowing dropped strong riders back into the group. Food for thought for Wheelers taking part in racing next year!
Marek’s Tips
A little bonus section for me to share my own tips and tricks I think are useful:
Body weight. One of the biggest learning points moving from a beginner to an experienced rider I believe is learning about shifts in body weight. When riding at speed, unless cornering, I do not use my handlebars. Rather, I use my hips to turn. A drill I do (even still) is whenever there’s an empty road with dashed line markings I ride along the line and then shift my hips left and right to weave through the gaps in the dashes. This skill is invaluable in group riding and you’ll see everyone using it in the higher K categories of the club. Each time we talk about peeling off the front, or riding side by side, or even changing a line due to a parked car up ahead – everyone makes a gentle shift in line by applying this movement of the hips.
Head checking. This follows on from the above – while movement of the hips is a fantastic thing, it can cause issues with head checks. When looking over your shoulder your weight distribution changes and often riders lose their line. To stop this from happening you need to make appropriate changes in your weight distribution to counter it. A drill I do (again, still even now) is on an empty street with a line (solid or dashed) I ride on the line (even doing this is a good drill to learn to ride in a smooth straight line) and when on this line I headcheck and practice stating on the line as best as I can. From this skill I am able to ride in a group much safer as when I headcheck I am not making a sudden movement to the side which then may clash with a rider passing me.
Relaxed shoulders – all too often I find my shoulders are tensed up and can be up at my ears sometimes when pushing the limit. I often throw my attention to my shoulders and check to see if they are relaxed. I would love for anyone on a group ride to shout to me to relax my shoulders if they see they are tensed up.
Jelly Arms and Jelly legs – no not the kind when you’re out of energy and pedalling squares! Your arms and legs are your suspension in your bike, make your arms as relaxed as possible when not using them to accelerate. Similarly, with the descending point of bum up Jelly legs will allow you to absorb bumps in the road combined with your jelly arms. Really treat them like suspension!
What I like to call 2 up and 1 down – this obviously depends on your gear ratios, but for me on my bikes 2 gear changes at the back roughly translates to the change at the front (small to big ring). So when I see a hill coming up – I go UP two gears at the back and then quickly change DOWN at the front. This keeps me at very close to the same cadence, not disrupting my flow and ready for the hill in my small ring. Similarly it’s the same once i get to the top of the hill. Only now, when ready, it’s two DOWN at the back and 1 UP at the front. Now I’m back in the big ring ready for the descent or to smash it on the flat.
This forum – don’t be shy! There are plenty of people at this club with a wealth of knowledge who are, like me, more than willing to share it. Tap into the resource and remember that there’s no such thing as a silly question.
Last point – if you are wanting to make great improvements to your fitness Dylan Johnson’s Youtube Channel is one I personally very much recommend.
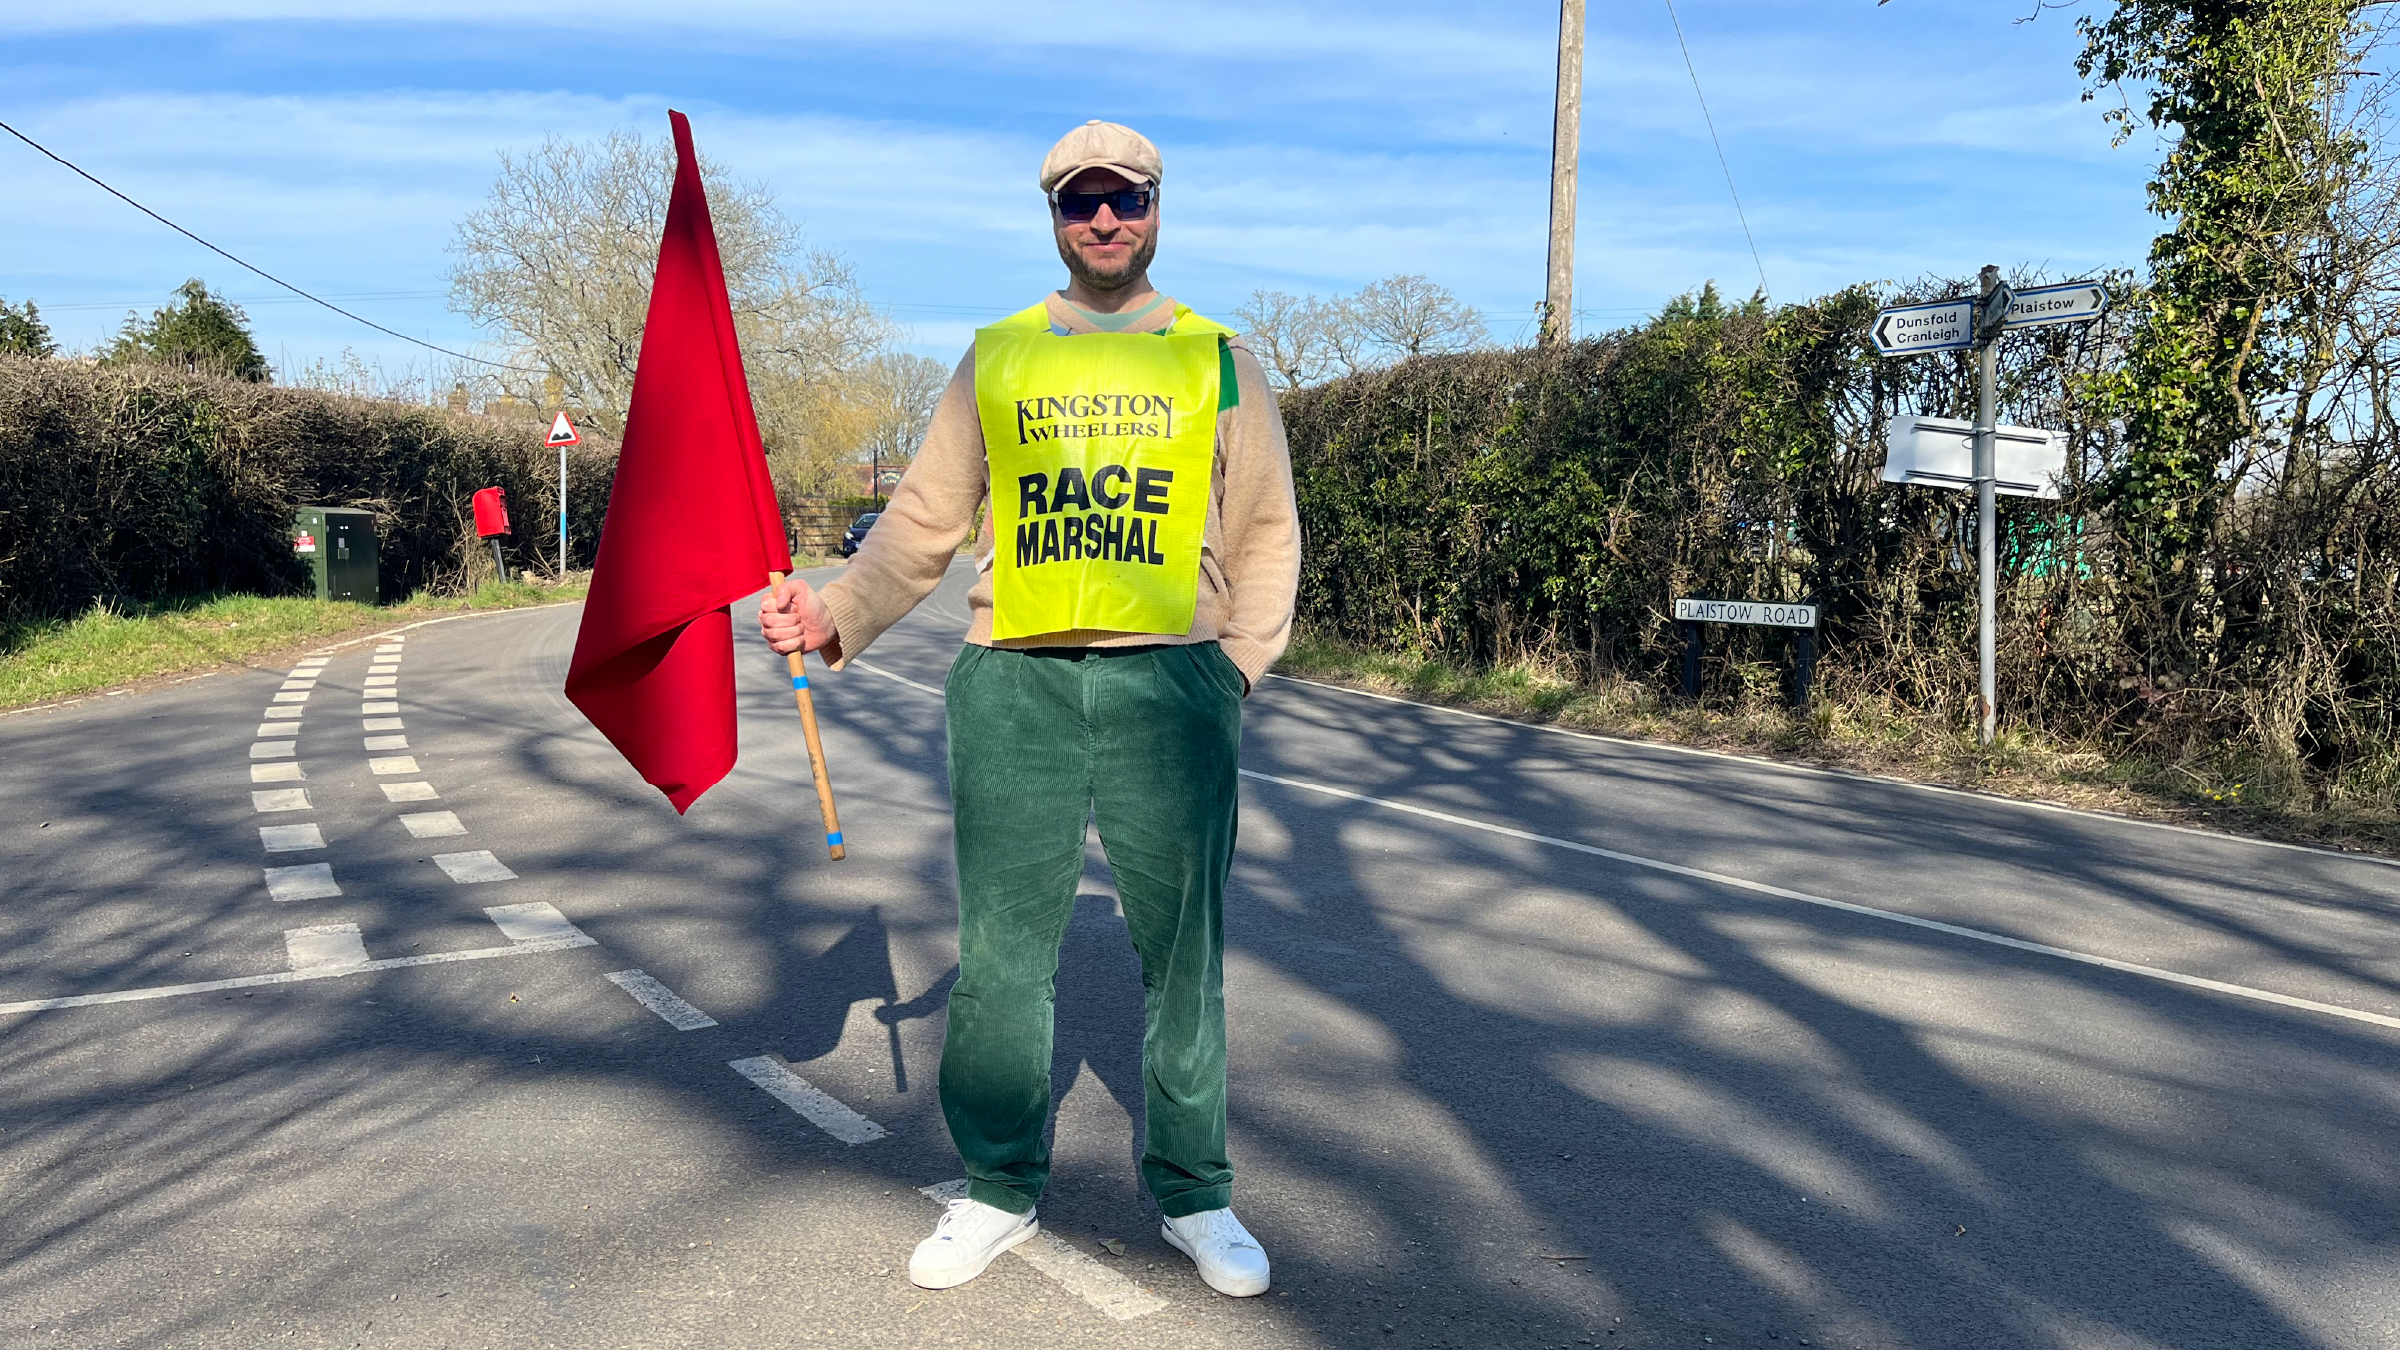
Right, that’s it! All that’s left is to repeat Abby’s statement of thanks to all the organisers and volunteers. It was a fantastic day out and is always nice to see so many Wheelers in one place.
Take care, Ride safe, Ride strong, Ride true!


